Alien Love Worms
Inspiration
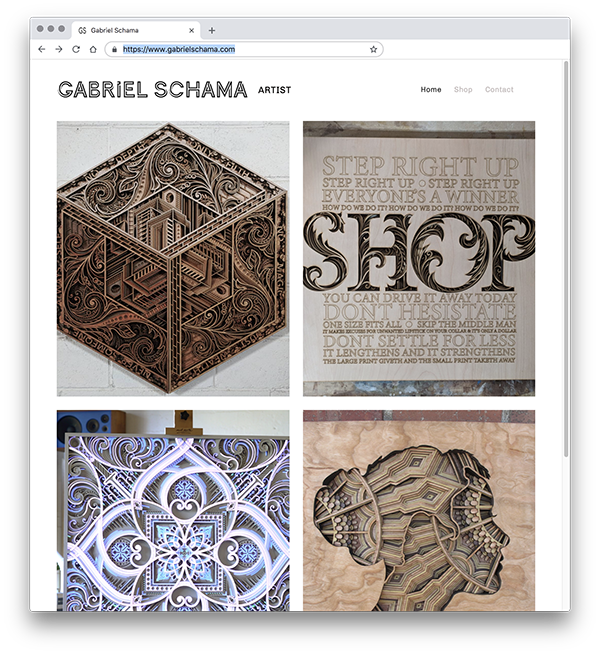
Around the time the glowforge was announced, I saw some inspiring art that had many layered cuts. I thought they were paper, turns out they are by an artist named Gabriel Schama, and are:
- huge! many are six to eight feet tall/wide
- cut in a (thin) plywood!
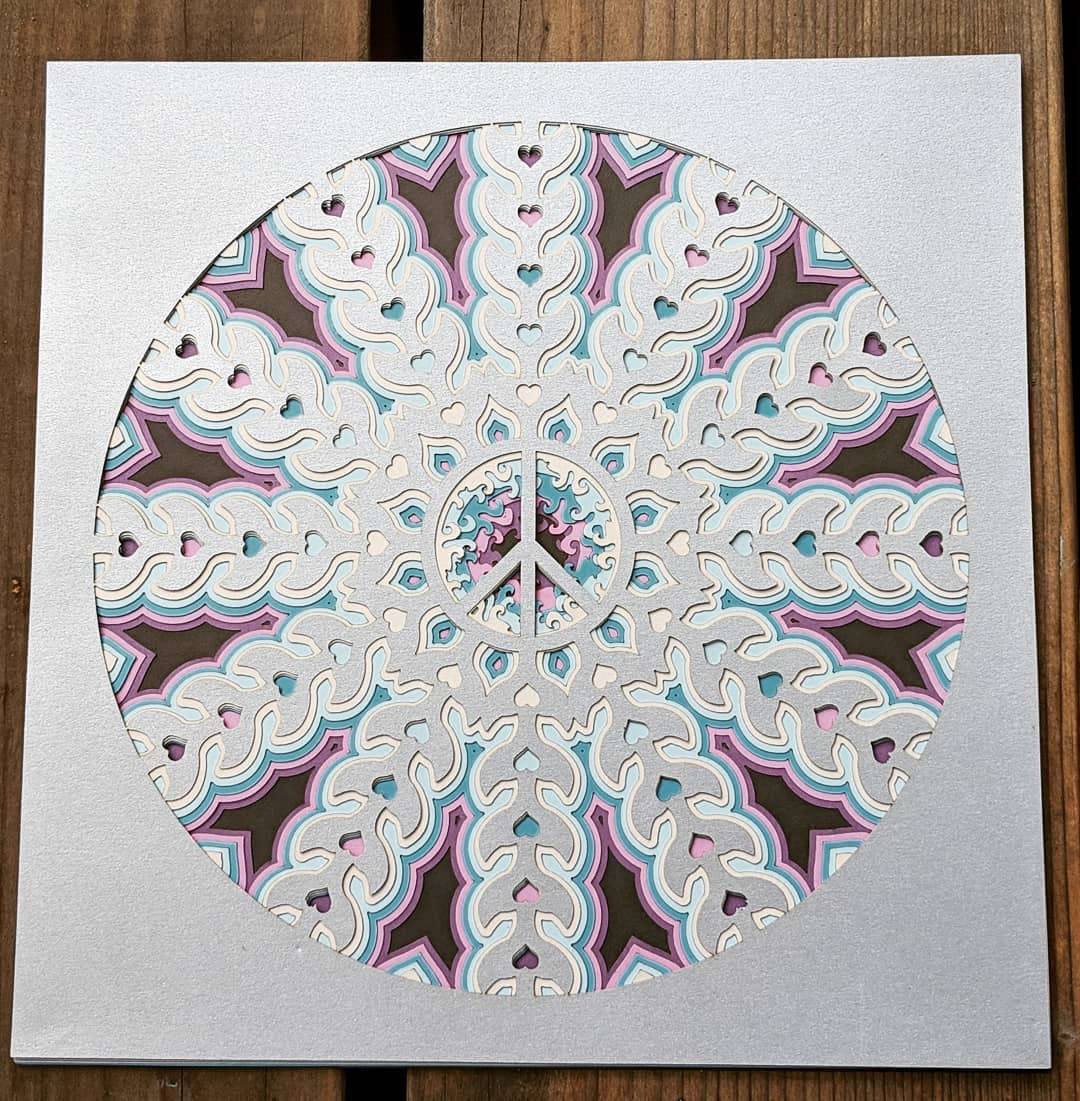
Presenting "Alien Love Worm"
For my first design I wanted to do a paper cut. Living near the coast, I wanted to encorporate a whale tail, waves, a peace sign and hearts.
Figure 2: Alien Love Worm ~ instagram
Technology / Process
I've been using Adobe Illustrator to build the SVG graphics that I've cut so far. And while I want to explore building designs with code, it would add more uncertainity.
I'm a novice at illustrator, especially getting it to work for the glowforge (which only looks at the paths to determine where to score/cut.)
I'm also a novice at composing a "mandala" like pattern in illustrator.
Using a tutorial showing how to create a mandala, I cobbled together an approach that worked for me:
the setup
- create a wedge that you will repeat in a circle
- convert that to a symbol
- transform/rotate the symbol in your illustration to the next location
- repeat using hotkey command d until you have all the sections
building a layer
- enter editing mode by double clicking on the object using v mode
- draw you paths for this layer, using arcs, lines and svg shapes for things likes the tail
- spend a long time trying to convert shape to fill (to help visualize layers)
- exit editing mode to see the changes apply to all the object in the pattern
rinse and repeat
- Then I would duplicate the layer in the layers dialog, making sure to select it and lock previous
- And duplicate the symbol it used in the symbols dialog
- select all the objects in the new layer, and in the properties dialog change the symbol to the new copy
- then I would alter/update

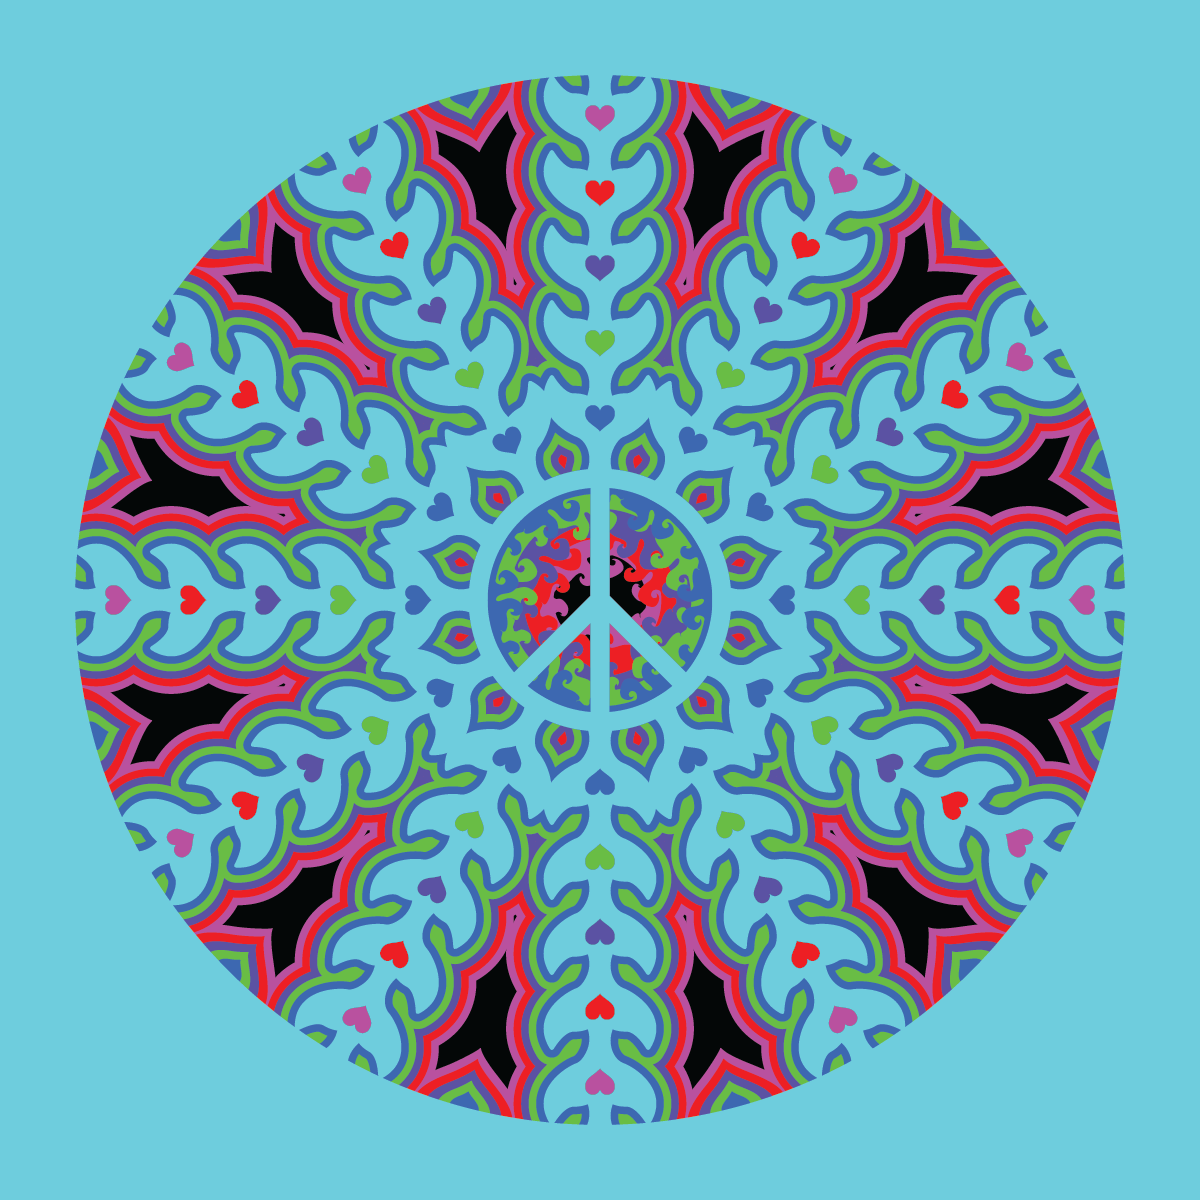
Figure 3: final composition as viewed in illustrator
finish & export
After I was completely done (including multiple times messing up which symbol I was editing and many revisions of the design…)
- object/expand all of the symbols.
- then I exported each layer to a different svg per layer
- then upload to glowforge to cut them
Download
Here are my 8" square layers: layer-0.svg, layer-1, layer-2.svg, layer-3.svg, layer-4.svg, layer-5.svg
experiment and cut
There were a few pages on the glowforge forum discussing cut settings (power & speed). This one about cutting 110lb card stock seemed to be right on. Although I lowered both the speed and the power a bit. I ended up using 400/40 (speed/power) on my glowforge basic.
Improvements
I'm relatively happy with the composition. And the effect on paper is so much nicer than on the screen.
Exporting & Cutting
Rather than having one svg per layer… having to export, upload, setup, … I should have realized that each layer was already a different stroke color. This would have enabled exporting once, and using glowforge's web ui to select combinations of layers to cut in the paper.
Illustrator
Joining paths/shapes should be easy. Just use the pathfinder tool right? Or just use join after direct select… I eventually figured out a way to get it to work, but it wasn't easy.
In the end, I spent way too long fixated on getting the fills to look right.
There has to be a better way to visualize how the cuts will end up looking. (hrm… hack idea: visualize the cuts in multiple layers in html/js/svg/…)
Wrong approach?
- should I be working in code instead of illustrator for part of the process?
- should I be working with gradients/brushes to draw color/depth maps. Then quantize into layers it at the end?
- should I ignore the fills and just look at the stroke colors?
Results
I'm happy with the initial results. Especially given the beautiful card stock I appropriated from my daughters.

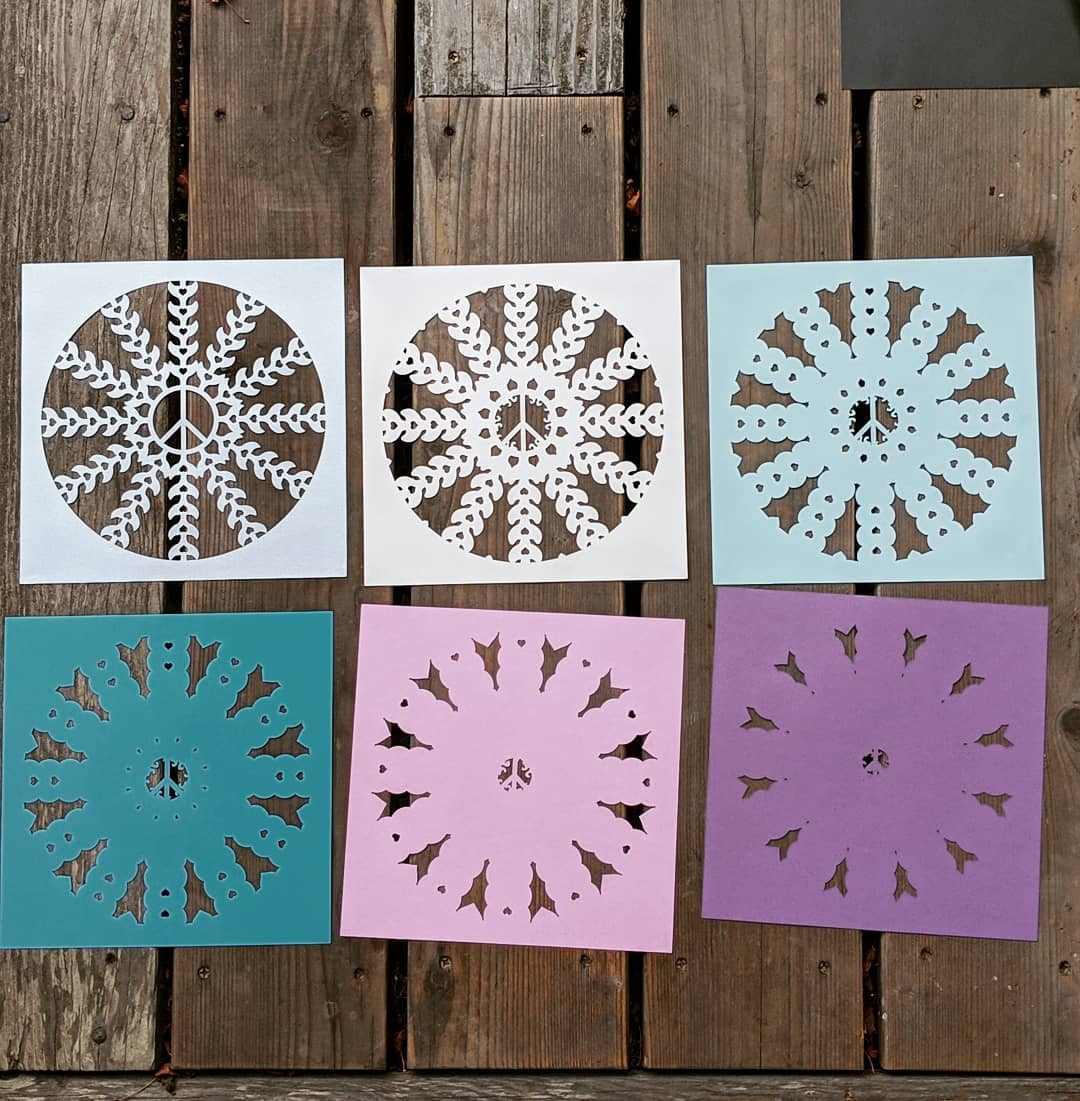
Figure 4: decomposed layers
I've ordered more card stock, and some frames. So more experiments soon!
Share your thoughts or ideas for improvements at instagram, twitter or the glowforge community forums.

